A friend recently asked me if i can help him setting up his old MacBook Pro mid-2012. In this article i show you how i upgraded RAM and replaced the hard drive with a SSD.
His MacBook was very slow so he tried to reinstall a fresh mac os x but the installation failed every time. I think with just reinstalling OSX it would not be that much faster and maybe the hard drive had some issues that caused the installation to stop. I recommended him to put in hand around 100€ and invest in an SSD and a RAM memory upgrade. With these upgrades, it should run a lot faster. Three years ago I did the same with my old 2011′ MBP and the upgrade worked real wonders.
I have to mention that I just show you how I did it and you can do it the same way, but it’s at your own risk. If that’s okay for you – read on to make your MacBook Pro a lot faster:
What do you need?
2.5″ internal SSD
You can get any internal 2.5″ internal SSD. I can recommend the Samsung 2,5″ EVO 860. You can get it with up to 4 Terabyte but in most cases, 500GB are more than enough. I got the same one in my old Macbook for more than 3 years now.
RAM memory
The Macbook Pro 2012 got 2 blocks of DDR3 RAM. I recommend upgrading to 8GB (2x2GB). I’ve read that the 2012′ MBP can also handle 16GB (2x8GB), but for the use case of this MacBook 8GB are enough to speed it up.
Some RAM memory that will fit:
- Samsung 2x4GB RAM memory kit
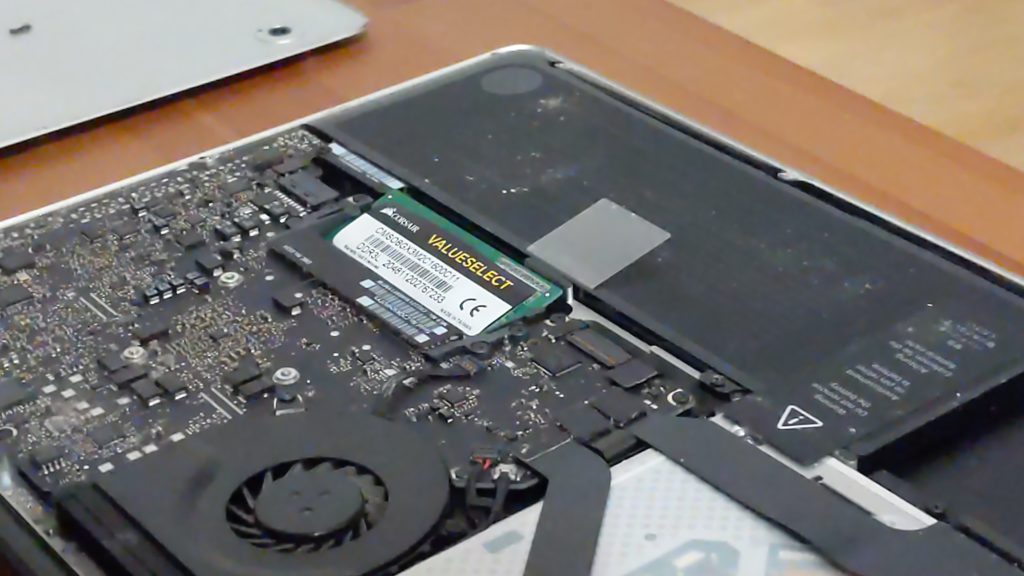
- Corsair Valueselect 2x 4GB (the ram used in this article)
- Crucial 2x8GB DDR3 Ram Kit
Screwdriver for precision mechanics
To open the MacBook you need a very small screwdriver (Phillips) for precision mechanics.
Get it on amazon

Only two days later all the parts arrived and I could start to upgrade it. These are the steps to do it:
Step 1: Preparation: Create a bootable installer
First of all: in this case, I wanted to have a fresh install of os x. If you need all your files and settings like before then you need to do a backup first!
Before you start replacing the parts you should create a bootable installation file of OS X on a USB flash drive (minimum 8GB!). Format the USB drive to MacOs Journaled and name it MyVolume
The 2012 MacBook pro does not support the newest os x versions so i downloaded a os x El Capitan Installation file. You can download the older versions of os x here: https://support.apple.com/de-at/HT211683
After downloading it you need to install the installation (no worries – it does not get installed right now – it just unpacks the installation file. So just open the downloaded DMG file and open the .pkg file.
Start the installation.
The Install file with the name Install OS X El Capitan will be installed in your „Applications“ folder.
Check if this file is visible in the Applications folder. After that, you can plug in your USB drive.
Open the terminal and put in the following line and hit Enter:sudo /Applications/Install\ OS\ X\ El\ Capitan.app/Contents/Resources/createinstallmedia --volume /Volumes/MyVolume --applicationpath /Applications/Install\ OS\ X\ El\ Capitan.app
The terminal will prompt you to put in your administrator password. When prompted, type Y to confirm that you want to erase the volume, then press Enter.
The progress will start. Wait till you see the message „Install media now available at /Volumes/Install OS X El Capitan“
Now you can unplug the USB drive.
Step 2: Open the MacBook
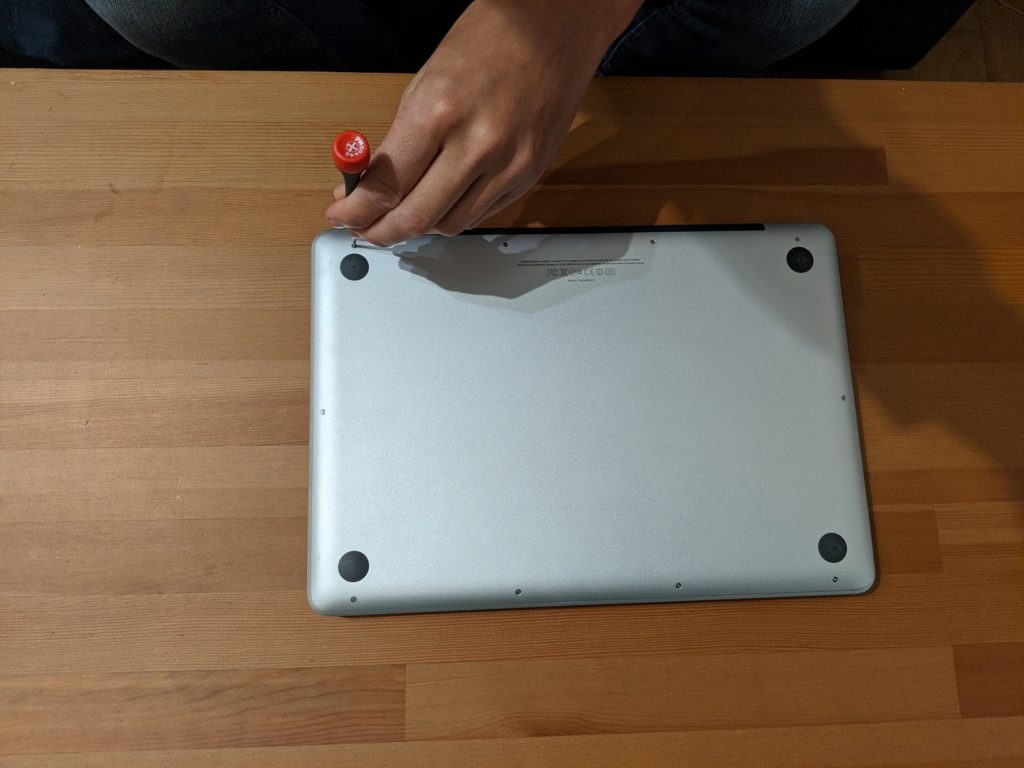
Turn the MacBook around and you will see 10 screws on the bottom of it. The screws should turn easily. Three screws on the side with the black bar are a little bit longer – just to know where you put them out – you need to know when reassembling.
Now you can open the cover.
Step 3: Remove the Hard Drive

Around the hard drive you will find another 4 screws. Turn them out.
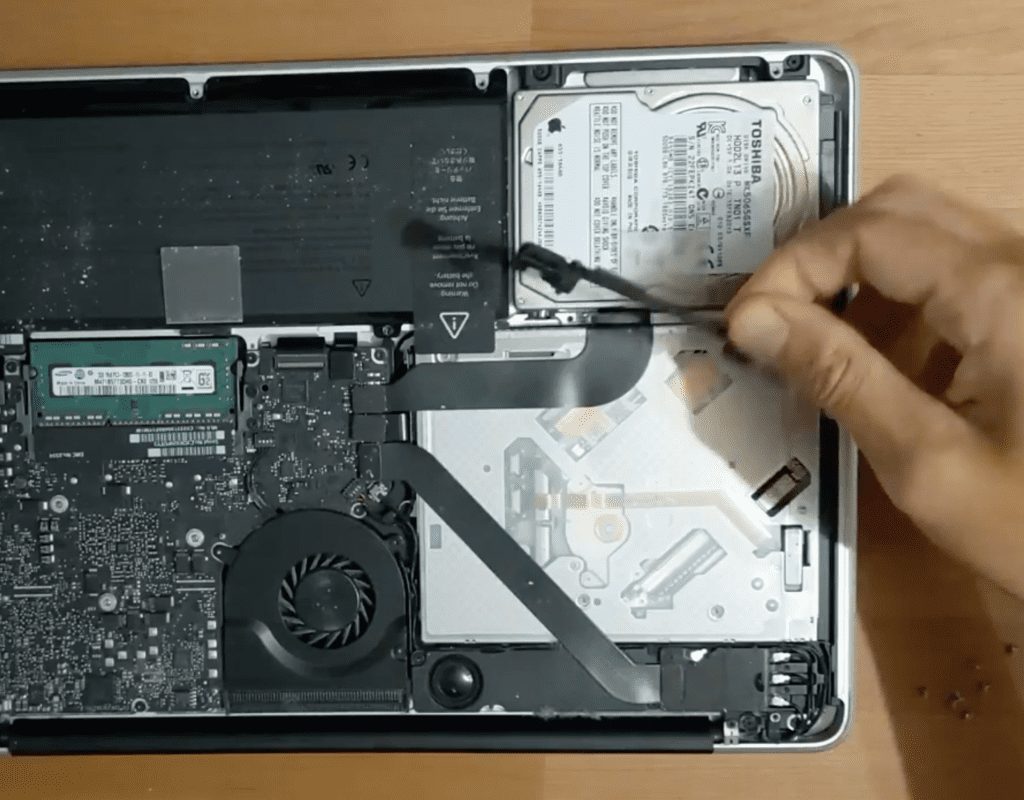
After that, you can remove the black bracket.
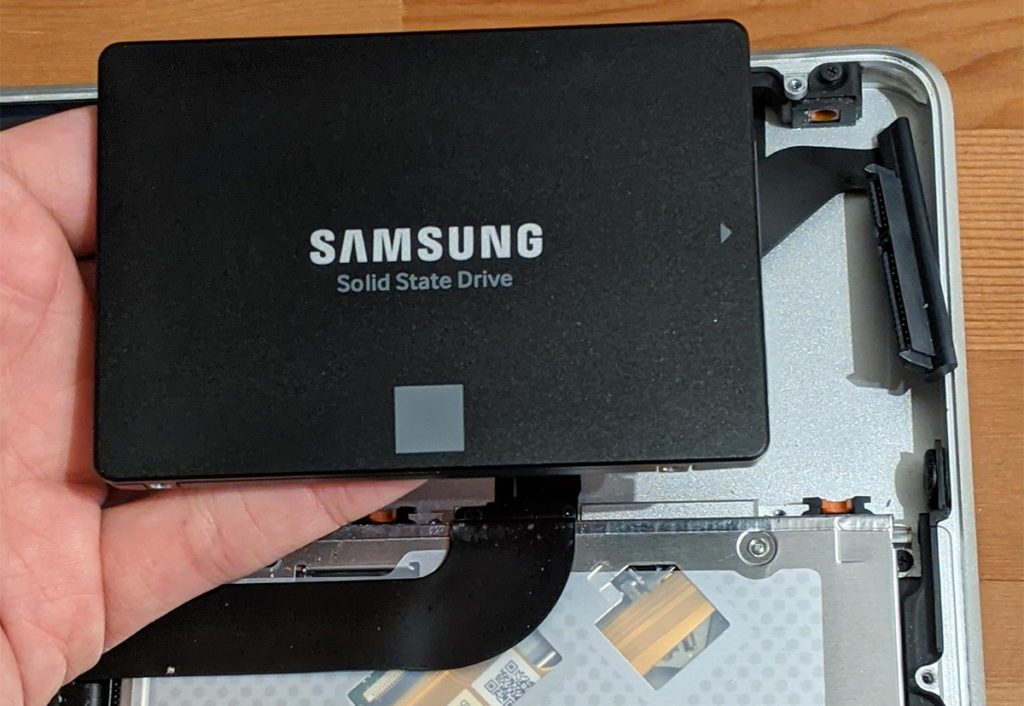
Next, pull the strap on the hard drive to get it out, and then you can unplug the connector.
Step 4: Put in the new SSD
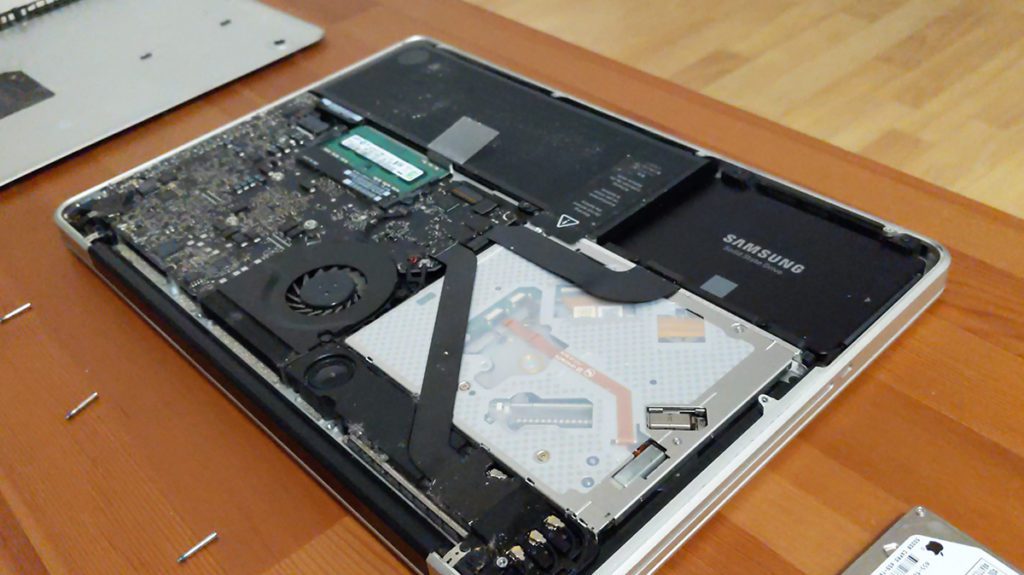
Get your new SSD and just plug in the connector, put the SSD in the housing, push in the black bracket, and screw in the 4 black screws. That’s it! Your SSD is installed.
Step 5: Replace the RAM memory
This is really easy. The RAM has a small bracket on the left and right side which is holding it down. Just push both brackets away from the ram and it will jump out. Under the RAM there is the second one so you can do it the same way.
When you got both RAM out then you can put in the new RAM. In my case it’s 2x4GB.
Step 6: Reassemble the MacBook
Close the MacBook with its bottom cover and screw it down. Don’t push too much when screwing in.
Step 7: Install OS X from usb flash drive
Connect the USB flash drive with the bootable os x.
Hold the Option (Alt) ⌥ key when starting the MacBook till you see the window with the bootable volumes. Select the Install os x file and proceed with the steps to install. The installation process will ask you for choosing the volume you want to install it.
If you can’t see your SSD there then you first need to format it as MacOS Journaled (in the navbar on top you will find the disk utility tools). After that, you can start the installation progress again.
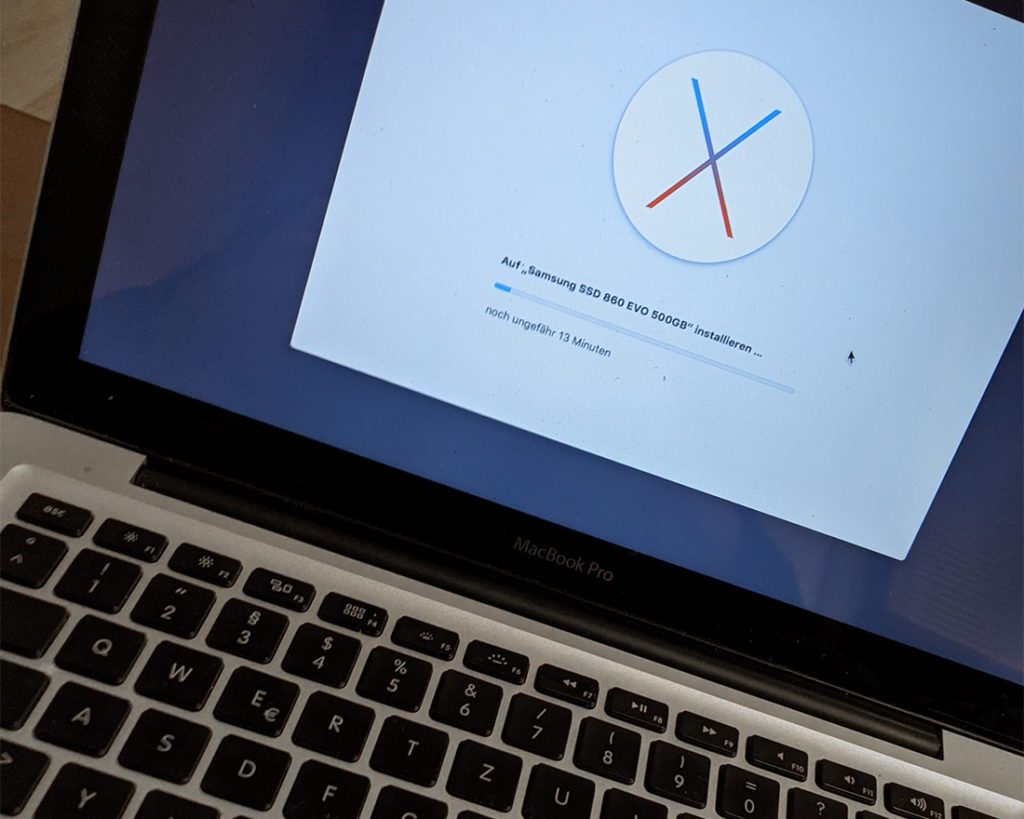
After some minutes you get a fresh installation of OS X El Capitan and it should be a lot faster than before.
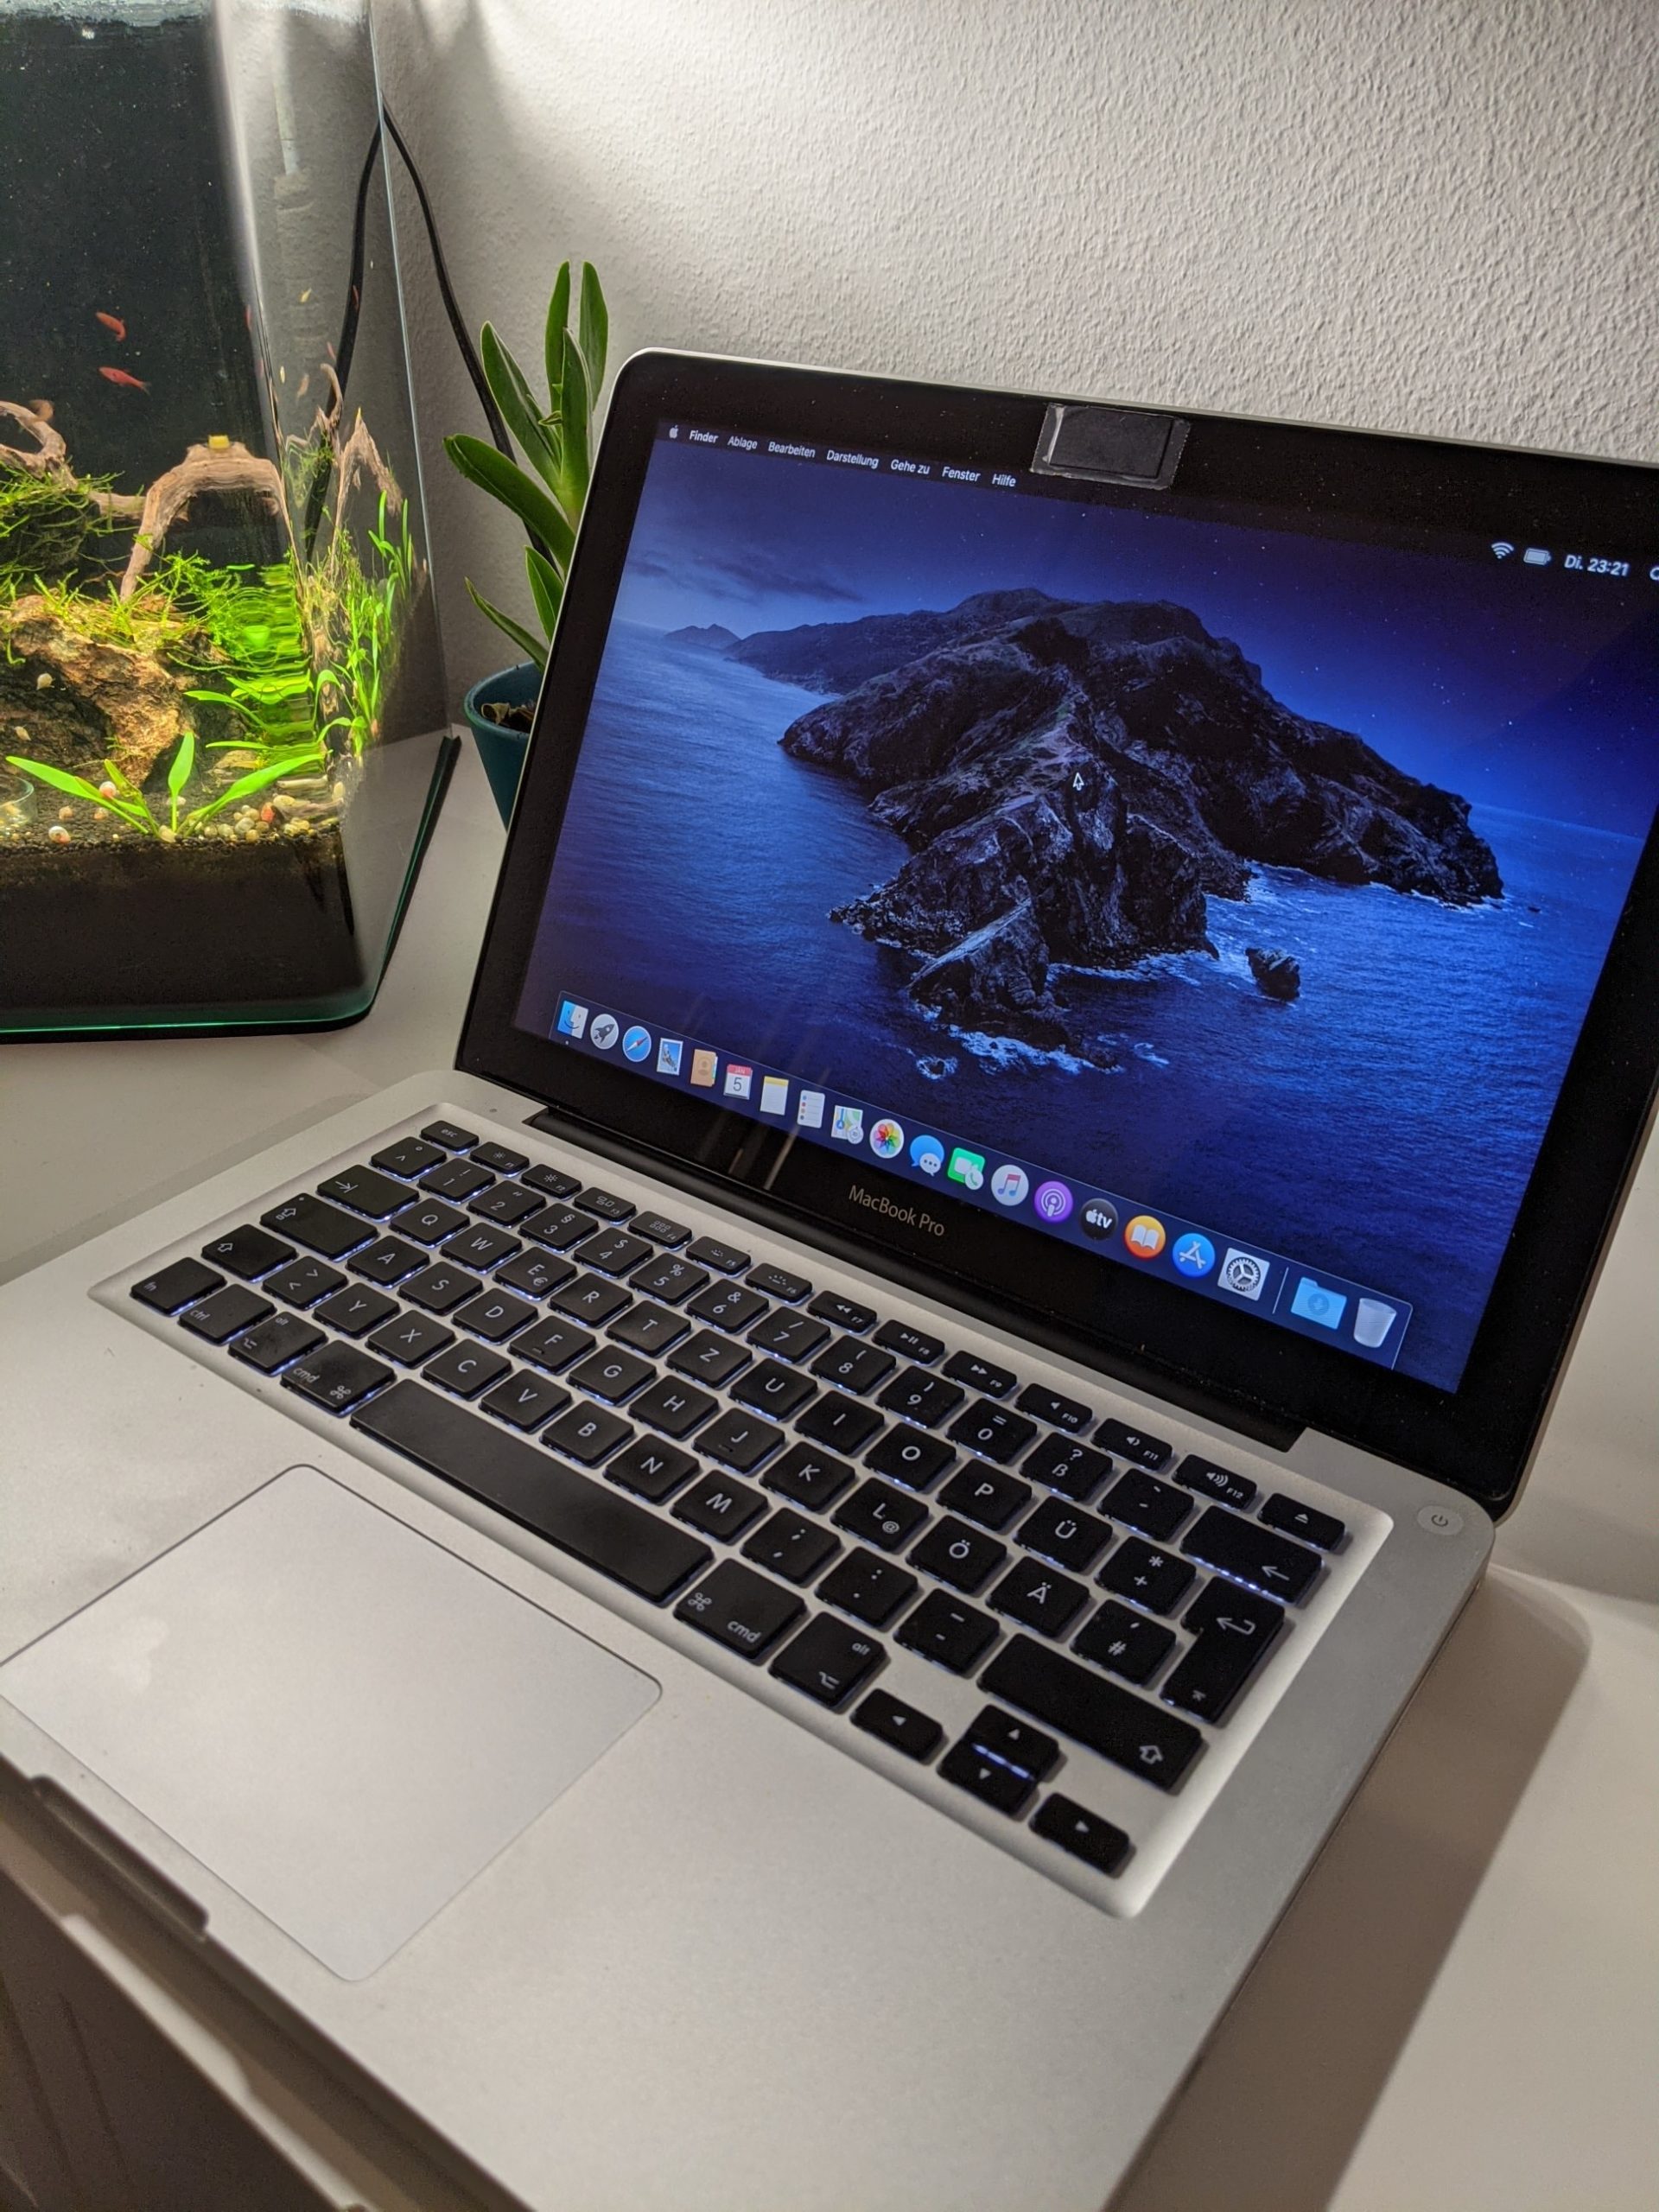
If you want you can also install a newer version. I did research and found out that OS X Catalina is the latest version that works on the MacBook pro mid-2012 so I downloaded it from the app store and updated it.
So now let’s JUMP to the question:
Is it worth it to upgrade the old MacBook Pro?
Definitely yes, it is! It definitely runs a lot faster now. Okay, not comparable with my brand new 16″ MacBook Pro, but a lot faster than it was before and it was just an investment of around 100 € instead of thousands.
I hope this will help you with upgrading your Macbook and getting it faster.
Write in the comments if it worked and how you like the speed of your upgraded MacBook.




2 Responses
we’re can i buy the best lowest best SSD and Ram
You do find everything on amazon*: https://amzn.to/3RJlotS